Using Templates
Using templates can help you save time when provisioning accounts for your clients. It's straight forward, as the basic configuration is being cloned from the template and the new account will be ready to use out of the box. Individual settings can later be easily adjusted and modify by each business, based on their specific needs.
Templates are particularly useful when working with a range of specific verticals. Different business verticals usually have different needs when it comes to communicating with clients and managing their business.
Set an account as Template
You can mark any account under your directory as a template. Please note it is recommended to create a new account for this purpose and not use existing accounts that are in use by you or your clients.
You can set the account as a Template either during account creation by API or in the Operator Portal.
- By Create Account API - send the property is_template = TRUE in the API request.
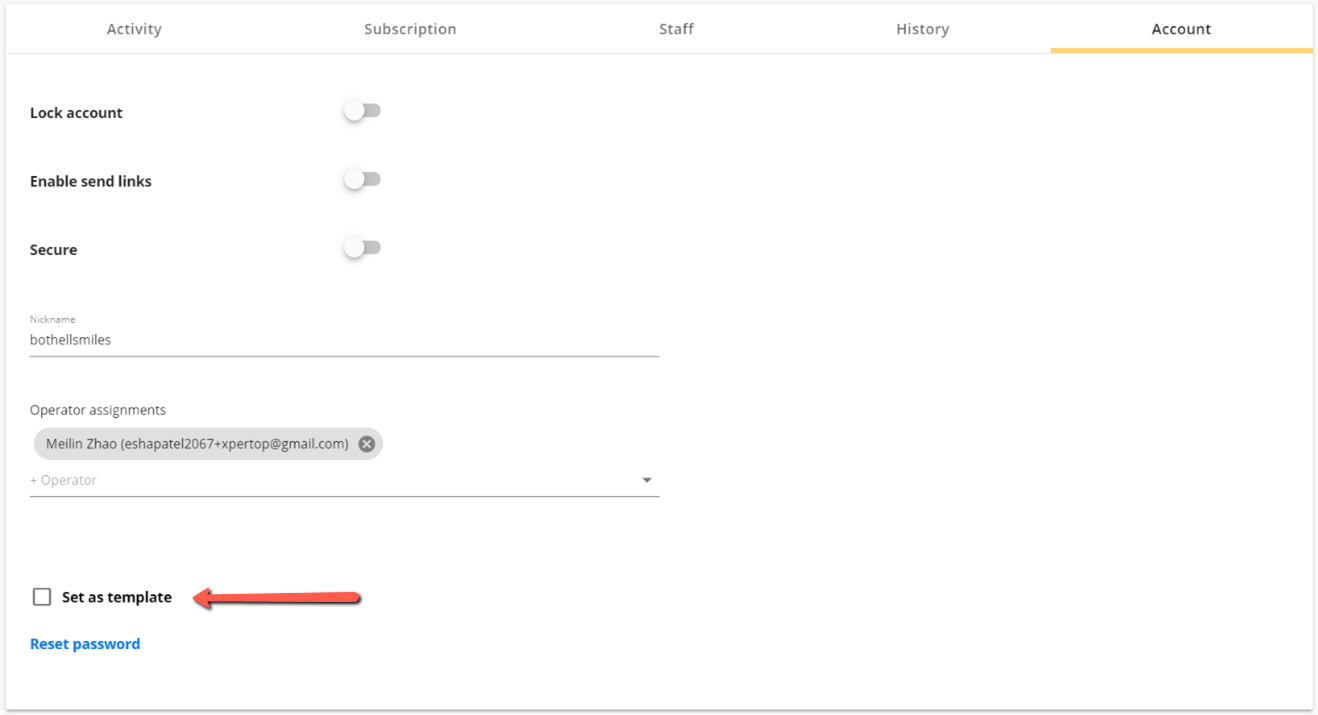
- In Operator Portal - under Client Accounts find the account you wish to set as template and open its settings. Open Account tab select Set as template box.

Template Business UID
When duplicating accounts via API, you need to pass the template business UID in the request. This value is the account’s unique identifier which is received in the template creation response after creating it.
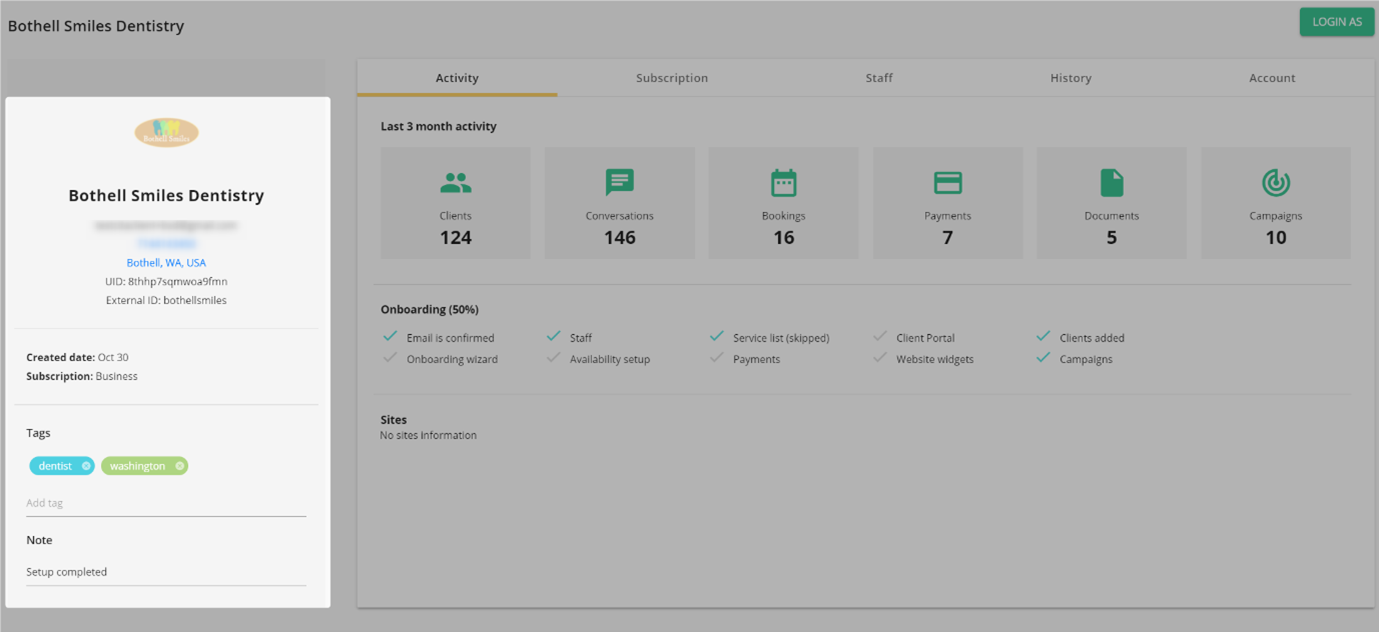
In addition, it is also visible in the operator portal. Under Client Accounts open the template business settings and see the Business UID on the left side:

Duplicate an Account from a Template
Creating an account based on a template can either be done by Create Account API or by account creation in Operator Portal.
- By Create Account API - Send the relevant template_business_id in the API request.
- In Operator Portal - When creating a new client account select From Template, fill in the business details and click on Create Account.
Settings cloned from the template
Following is a list of settings that are cloned from the template to the new account:
-
Settings > Business info:
- Language
-
Settings > Availability & calendar:
- Time zone
- Time format
- Calendar increments
-
Settings > Payments:
- Enable online payments
- Currency
- Enable multiple currencies (yes/no)
- Terms & conditions text for estimates and invoices
-
Settings > Inbox & Leads:
- Email cc & bcc
-
Settings > Auto client messages > Payments:
Updated 5 months ago
